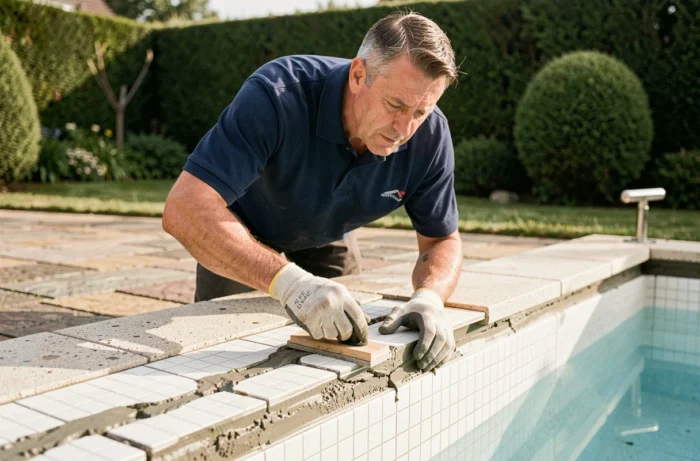
A tiled pool with crumbling grout presents a real problem: water seeps in, algae take hold in the gaps, and the question of applying epoxy grout over the old joints soon comes up. Applying epoxy resin directly over old cement grout in a swimming pool is technically possible, but the adhesion requirements are so strict that a thorough assessment of the existing surface is essential before any further work can begin.
How epoxy bonds to old cement: what gets in the way in practice
Pool renovation projects often follow the same pattern. The cement grout looks fine on the surface, but a quick scrape with the tip of a screwdriver is enough to make it crumble. Epoxy resin bonds chemically; it does not soak in. It needs a sound, clean substrate with no loose or friable material.
Even a few millimetres of powdery grout will prevent this bond from forming. Mapei’s technical data sheets specify that the substrate must be clean, sound, dry and free of loose material. When working on a pool that has been drained for several days and scraping out the existing grout, the reality is often less favourable than hoped.
The problem is not the epoxy itself. Whether an overlay holds or comes loose in the months that follow depends on the actual condition of the existing grout. So before buying even a single tub of resin, start by assessing what is there—not just by looking at it. If you’re planning to renovate pool tile grout with epoxy, this assessment is not optional.
Assessing existing pool grout: three checks before making a decision
Assessment involves more than checking for cracks. The aim is to determine whether the remaining material can provide a sound bonding surface or needs to be removed.
- Mechanical cohesion test: Run a rigid tool (a flat-head screwdriver or grout scraper) over several areas of the pool, including the corners and floor. If the grout crumbles or comes away as powder, an overlay is not an option in those areas.
- Residual moisture test: Even after draining, old cement grout can retain water deep inside. Check by taping a piece of plastic over the surface for a few hours. Condensation beneath the film indicates a moisture level that is incompatible with epoxy curing.
- Check the available depth: A surface overlay less than two millimetres thick does not provide enough depth for most epoxy mortars. The minimum depth to rake out depends on the product selected, and the manufacturer’s technical data sheet is the only reliable source for this information.
If two of these three tests reveal a problem, removing all the grout is the only reliable option. There is no point wasting time on an overlay that will come loose during the first winter.
Preparing pool tiles before applying epoxy
Even when the assessment confirms that the old grout is sound enough, preparing the surface is still a lengthy job. For a typical-sized pool, this stage can easily take several days.
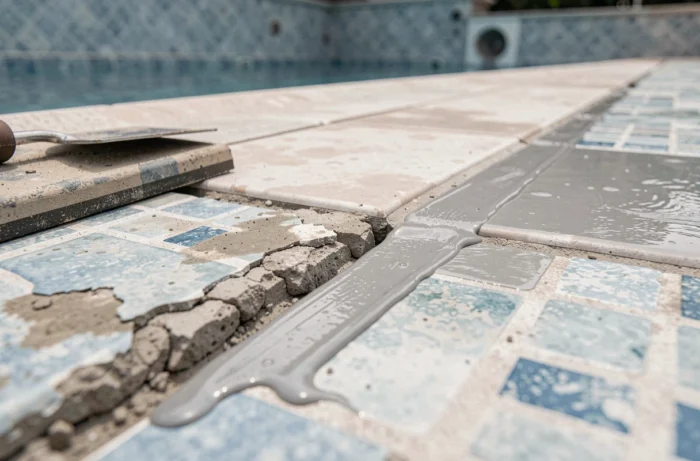
Start by pressure-washing the surface to remove limescale and organic deposits. Some professionals also apply hydrochloric acid (diluted or undiluted, depending on the condition of the surface), followed by a thorough rinse. The aim is to leave a clean surface, free of greasy residue or any film that could prevent a chemical bond from forming.
Partially raking out the old grout is almost always necessary, even when removing all the grout is not required. At a minimum, remove the degraded surface layer to give the epoxy enough depth to bond. A grout scraper or oscillating tool can do the job without damaging the tiles or mosaic.
Allowing the surface to dry completely before application is a requirement that is often underestimated. This does not mean just a few hours: depending on the weather and the depth of the joints, drying can take several days. Applying epoxy to a surface that is still damp below the surface can compromise the curing process.
Curing and refilling the pool: the wait no one wants to observe
It is tempting to refill the pool soon after applying the grout. Curing times vary depending on the product and ambient temperature. One Mapei product specifies a cure time of at least ten to fourteen days at 23 °C before immersion, with a longer wait required in cold weather.
This timeframe does not apply to all epoxy products. Each product has its own curing schedule, and cutting the wait short risks premature grout failure or irreversible whitening on contact with water.
The pool’s water treatment system also matters. Some epoxy products are not suitable for pools fitted with copper-silver ionisation systems. For saltwater or heavily chlorinated pools, checking chemical compatibility in the product data sheet helps prevent accelerated deterioration of the new grout.
What epoxy cannot fix
Even perfectly applied new epoxy grout cannot replace the waterproofing beneath the tiles. If the leak is caused by a defect in the concrete substrate, a poorly treated corner or a fitting penetration, regrouting alone will not solve the problem. It is therefore important to distinguish between renewing the grout (for appearance and surface protection) and repairing the pool’s structural waterproofing.
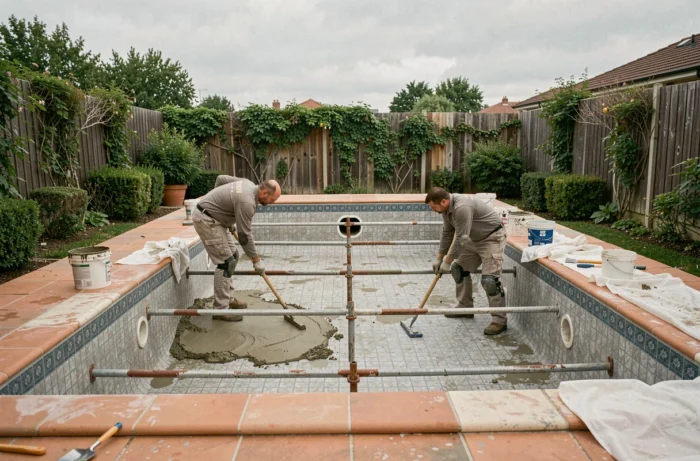
Renovating pool grout with epoxy over existing grout requires a precise sequence: an honest assessment of the surface, thorough preparation and adherence to the manufacturer’s stated curing time. When the old grout is no longer sound, an overlay is a false economy. It is better to remove it completely and start with a sound base than to apply a second layer over a first one that will cause it to fail.